Claude Code के साथ a Custom Video Player Build करना
Claude Code का उपयोग करके building a custom video player सीखें। Practical code examples शामिल हैं।

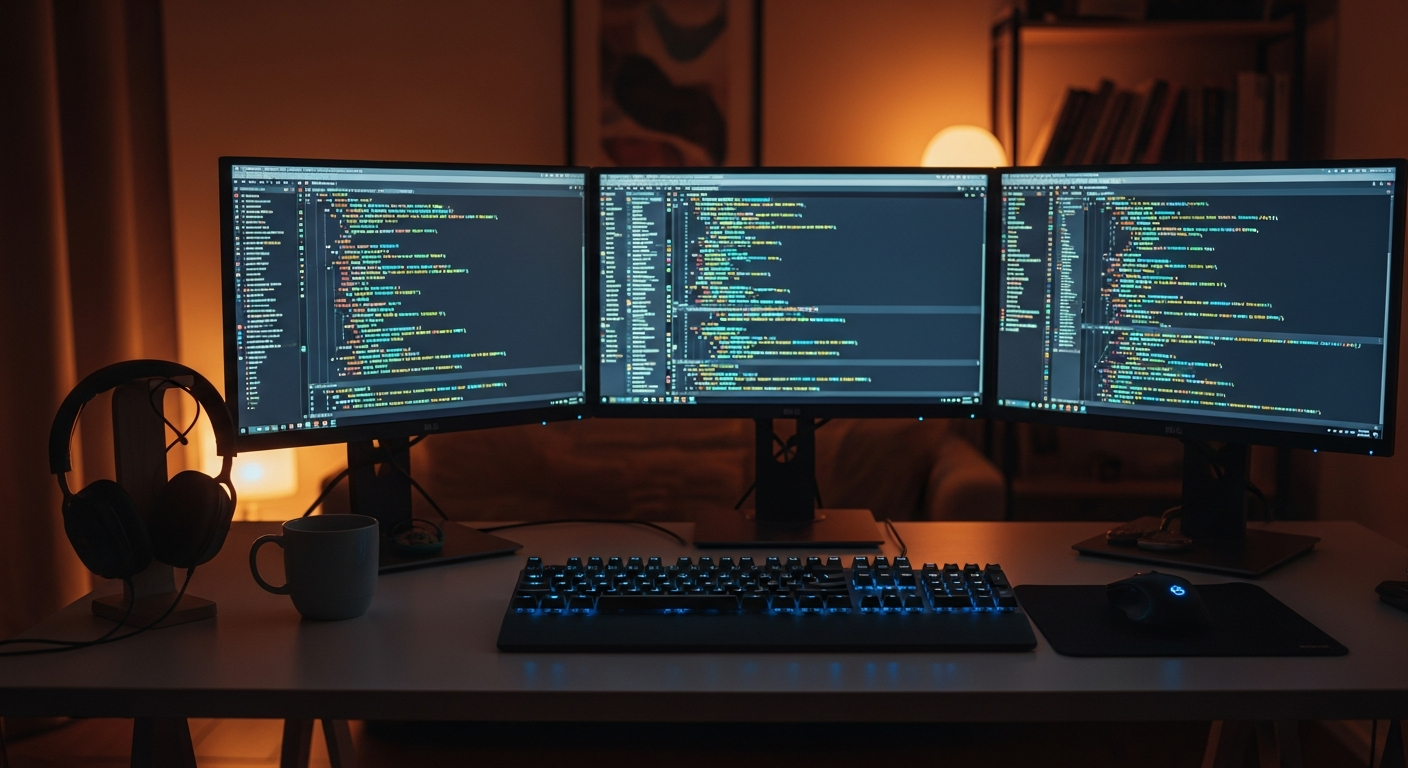
custom video player को Claude Code से बनाना
video player एक ऐसा UI है जो video file या stream load करके play, pause, seek, volume, captions और speed-change को पाठक के लिए संचालन-योग्य बनाता है। Web पर अक्सर आधार में native <video> element रखा जाता है, और JavaScript से HTMLMediaElement के currentTime, duration, paused, volume, muted, playbackRate को पढ़ा या बदला जाता है।
यह परिभाषा पहले रखने का कारण यह है कि video player केवल सजावट नहीं है। learning product में पाठक बीच से दोबारा शुरू कर पाए, captions से समझ बढ़ा पाए, और धीमी speed से दोहरा पाए — यह completion rate से सीधे जुड़ा है। media site में यह मायने रखता है कि लेख का आरंभिक प्रदर्शन बाधित न हो, mobile network पर भी प्रतीक्षा न कराए, और देखने के बाद अगले लेख या membership तक स्वाभाविक रूप से जुड़े।
implementation के समय MDN का <video> element reference और HTMLMediaElement API देखें। Claude Code component, test, accessibility review और measurement event एक साथ संवारने में उपयुक्त है — पर “कौन-सा अनुभव बचाना है” यह product का निर्णय है।
native <video>, custom controls और streaming का फ़र्क़
पहला निर्णय button की दिखावट नहीं, बल्कि कौन-सी playback विधि अपनाएँ। native <video controls> सबसे जल्दी publish होता है और browser keyboard-संचालन व बुनियादी captions संभाल लेता है। वहीं learning management, progress save, member-CTA, chapter और custom measurement चाहिए तो HTMLMediaElement को संचालित करने वाली custom controls उपयुक्त हैं। video लंबा हो, दर्शक अधिक हों, देश/network भिन्नता बड़ी हो तो HLS/DASH या video delivery service से streaming पर भी विचार करें।
| विधि | किस स्थिति के लिए | production में देखने योग्य |
|---|---|---|
native <video controls> | लेख में छोटा embed, internal doc, सरल LP | implementation तेज़; brand-रूप और बारीक measurement सीमित, पर बुनियादी संचालन भरोसेमंद |
HTMLMediaElement पर custom | learning product, media site, SaaS demo, member video | UI, resume-स्थिति, CTA, analytics नियंत्रित; बदले में accessibility और error handling की ज़िम्मेदारी |
| HLS/DASH या delivery base | लंबा course, बड़ा catalog, live, संरक्षित video | conversion, manifest, CDN, bitrate, authorization, player library का design ज़रूरी |
Claude Code से पहला implementation बनाएँ तो छोटा MP4, preload="metadata", poster image और caption file से शुरू करना व्यावहारिक है। chapter link, caption search, completion rate जैसी ज़रूरतें आने पर custom बनाएँ, और जब एक MP4 भारी पड़े तब streaming पर जाएँ।
player की आवश्यकताएँ
play/pause, seek bar, volume, speed-change, fullscreen, picture-in-picture और caption प्रदर्शन समर्थित करें।
मुख्य player component
// src/components/VideoPlayer.tsx
'use client';
import { useRef, useState, useEffect } from 'react';

interface VideoPlayerProps {
  src: string;
  poster?: string;
  subtitles?: { src: string; label: string; lang: string }[];
}

export function VideoPlayer({ src, poster, subtitles }: VideoPlayerProps) {
  const videoRef = useRef<HTMLVideoElement>(null);
  const [isPlaying, setIsPlaying] = useState(false);
  const [currentTime, setCurrentTime] = useState(0);
  const [duration, setDuration] = useState(0);
  const [volume, setVolume] = useState(1);
  const [playbackRate, setPlaybackRate] = useState(1);
  const [showControls, setShowControls] = useState(true);

  const video = videoRef.current;

  useEffect(() => {
    if (!video) return;
    const handleTimeUpdate = () => setCurrentTime(video.currentTime);
    const handleLoadedMetadata = () => setDuration(video.duration);
    video.addEventListener('timeupdate', handleTimeUpdate);
    video.addEventListener('loadedmetadata', handleLoadedMetadata);
    return () => {
      video.removeEventListener('timeupdate', handleTimeUpdate);
      video.removeEventListener('loadedmetadata', handleLoadedMetadata);
    };
  }, [video]);

  const togglePlay = () => {
    if (!video) return;
    if (video.paused) {
      video.play();
      setIsPlaying(true);
    } else {
      video.pause();
      setIsPlaying(false);
    }
  };

  const handleSeek = (e: React.ChangeEvent<HTMLInputElement>) => {
    if (!video) return;
    const time = Number(e.target.value);
    video.currentTime = time;
    setCurrentTime(time);
  };

  const handleVolumeChange = (e: React.ChangeEvent<HTMLInputElement>) => {
    if (!video) return;
    const vol = Number(e.target.value);
    video.volume = vol;
    setVolume(vol);
  };

  const changePlaybackRate = (rate: number) => {
    if (!video) return;
    video.playbackRate = rate;
    setPlaybackRate(rate);
  };

  const toggleFullscreen = () => {
    const container = videoRef.current?.parentElement;
    if (!container) return;
    if (document.fullscreenElement) {
      document.exitFullscreen();
    } else {
      container.requestFullscreen();
    }
  };

  const togglePiP = async () => {
    if (!video) return;
    if (document.pictureInPictureElement) {
      await document.exitPictureInPicture();
    } else {
      await video.requestPictureInPicture();
    }
  };

  const formatTime = (seconds: number) => {
    const m = Math.floor(seconds / 60);
    const s = Math.floor(seconds % 60);
    return `${m}:${s.toString().padStart(2, '0')}`;
  };

  return (
    <div
      className="relative group bg-black rounded-xl overflow-hidden"
      onMouseEnter={() => setShowControls(true)}
      onMouseLeave={() => isPlaying && setShowControls(false)}
    >
      <video
        ref={videoRef}
        src={src}
        poster={poster}
        onClick={togglePlay}
        className="w-full cursor-pointer"
      >
        {subtitles?.map((sub) => (
          <track key={sub.lang} kind="subtitles" src={sub.src} label={sub.label} srcLang={sub.lang} />
        ))}
      </video>

      {/* control bar */}
      <div className={`absolute bottom-0 left-0 right-0 bg-gradient-to-t from-black/80 to-transparent p-4 transition-opacity ${showControls ? 'opacity-100' : 'opacity-0'}`}>
        {/* seek bar */}
        <input
          type="range"
          min={0}
          max={duration}
          value={currentTime}
          onChange={handleSeek}
          className="w-full h-1 mb-3 accent-blue-500"
        />
        <div className="flex items-center justify-between text-white text-sm">
          <div className="flex items-center gap-3">
            <button onClick={togglePlay} className="text-xl">
              {isPlaying ? '⏸' : '▶'}
            </button>
            <span>{formatTime(currentTime)} / {formatTime(duration)}</span>
            <input
              type="range"
              min={0}
              max={1}
              step={0.1}
              value={volume}
              onChange={handleVolumeChange}
              className="w-20 h-1 accent-white"
            />
          </div>
          <div className="flex items-center gap-3">
            <select
              value={playbackRate}
              onChange={(e) => changePlaybackRate(Number(e.target.value))}
              className="bg-transparent text-white text-sm"
            >
              {[0.5, 0.75, 1, 1.25, 1.5, 2].map((rate) => (
                <option key={rate} value={rate} className="text-black">
                  {rate}x
                </option>
              ))}
            </select>
            <button onClick={togglePiP} title="picture-in-picture">🖼</button>
            <button onClick={toggleFullscreen} title="fullscreen">⛶</button>
          </div>
        </div>
      </div>
    </div>
  );
}
keyboard shortcuts
// src/hooks/useVideoShortcuts.ts
import { useEffect } from 'react';

export function useVideoShortcuts(videoRef: React.RefObject<HTMLVideoElement>) {
  useEffect(() => {
    const handleKeyDown = (e: KeyboardEvent) => {
      const video = videoRef.current;
      if (!video) return;

      switch (e.key) {
        case ' ':
          e.preventDefault();
          video.paused ? video.play() : video.pause();
          break;
        case 'ArrowRight':
          video.currentTime = Math.min(video.currentTime + 10, video.duration);
          break;
        case 'ArrowLeft':
          video.currentTime = Math.max(video.currentTime - 10, 0);
          break;
        case 'f':
          document.fullscreenElement
            ? document.exitFullscreen()
            : video.parentElement?.requestFullscreen();
          break;
        case 'm':
          video.muted = !video.muted;
          break;
      }
    };

    window.addEventListener('keydown', handleKeyDown);
    return () => window.removeEventListener('keydown', handleKeyDown);
  }, [videoRef]);
}
उपयोग का उदाहरण
<VideoPlayer
  src="/videos/demo.mp4"
  poster="/images/poster.jpg"
  subtitles={[
    { src: '/subtitles/ja.vtt', label: 'Japanese', lang: 'ja' },
    { src: '/subtitles/en.vtt', label: 'English', lang: 'en' },
  ]}
/>
accessibility और performance के pitfalls
सबसे बड़ा pitfall यह है कि native संचालन छिपा दिया पर उसके बराबर संचालन वापस न दिया। play button को div से बनाना, seek bar पर label न होना, keyboard से speed न बदलना, captions न होना — ऐसे implementation दिखने में अच्छे हों फिर भी learning product के लिए उपयुक्त नहीं। button असली button, seek input type="range", और error role="alert" से बताना बुनियादी है।
performance में लेख-सूची या LP पर कई video एक साथ load करने वाला design ख़तरनाक है। poster image को width और height दें, वैकल्पिक video को preload="metadata" रखें, और video body CDN से दें। लंबे course को एक विशाल MP4 से देना mobile network, विदेशी दर्शक और बीच-में-छोड़ने — सबमें नुक़सानदेह है।
measurement की चूक भी आम है। हर सेकंड event भेजने के बजाय playback start, 25%, 50%, 75%, completion, error और CTA-click तक सीमित रखें तो वह सुधार में काम आता है। learning service में “किस lesson की completion rate कम है”, media site में “video देखने के बाद membership तक गए या नहीं” — यह देखना चाहिए।
संबंधित लेख
media संबंधी में audio player का implementation, और accessibility समर्थन के लिए accessibility implementation guide भी देखें।
Web video के format और encoding के बारे में MDN Web Docs (developer.mozilla.org) विस्तृत है।
इस लेख में बताई बातों को असल में आज़माने पर
इस संरचना को असल में आज़माने पर पता चला कि React के isPlaying को button-press पर अनुमान से बदलने के बजाय play और pause event से sync करना अधिक स्थिर रहा। video.play() browser की autoplay-सीमा से असफल हो सकता है, इसलिए try/catch से पाठक को दोबारा क्रिया के लिए कहना ज़रूरी है। Claude Code से review कराएँ तो “media event से state sync हो रहा है?”, “keyboard से सभी संचालन हो रहे हैं?” और “आरंभिक load पर video body तो नहीं गिर रहा?” — ये तीन बिंदु पहले दिखाएँ।
मुफ़्त PDF: Claude Code cheatsheet
Email डालें और commands, review habits तथा safe workflow वाली एक-page PDF पाएँ.
हम आपका data सुरक्षित रखते हैं और spam नहीं भेजते.

लेखक के बारे में
Masa
Claude Code workflow और team adoption पर काम करने वाला engineer.
संबंधित लेख

Client site edit से पहले Claude Code permission checklist
Agency teams के लिए safe AI edits: read-only, editable और forbidden areas तय करने का तरीका.
SaaS support bug reports को Claude Code से reproducible steps में बदलें
Vague support tickets को repro steps, evidence और developer note में बदलने का practical workflow.

Obsidian के पुराने नोट को Claude Code के ब्रीफ में बदलने की 10 मिनट की रूटीन
Obsidian के पुराने नोट को तथ्य, फैसले और अनिश्चित में बाँटकर Claude Code के सीधे काम का ब्रीफ बनाने की 10 मिनट की रूटीन।